Using a Shop Smith Mark V on a Chris Craft Roamer refit

Moderators: HopefulSSer, admin

roamer46
Platinum Member
Posts: 627
Joined: Mon Nov 18, 2013 10:22 am
Contact:

Re: Using a Shop Smith Mark V on a Chris Craft Roamer refit

Post by roamer46 »

Thanks guys!

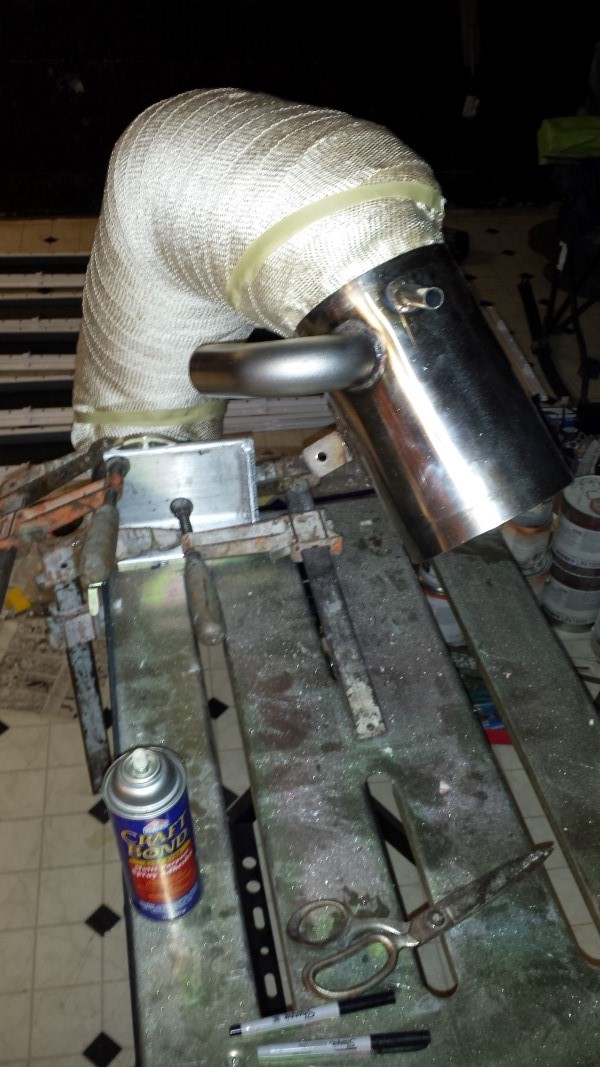
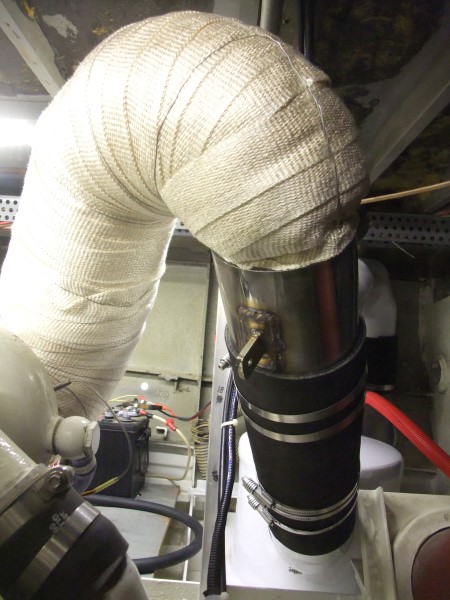
Dennis did, indeed, nail it, and I mentioned in the article the possibility of applying the high temp epoxy resin I got over it. The challenge of doing multiple thin coats to avoid sagging is the amount of time it takes for this stuff to get cured far enough to not sag but without the amine blush forming on the surface. I'm pretty sure I'd be looking at a 24 hour application broken up into 12 coats every 2 hours. And since I heard from another commenter elsewhere that the Inferno Wrap works and looks great even 10 years after he first applied it, I'm just going to use stainless wire or straps to secure the wrap and leave it soft.

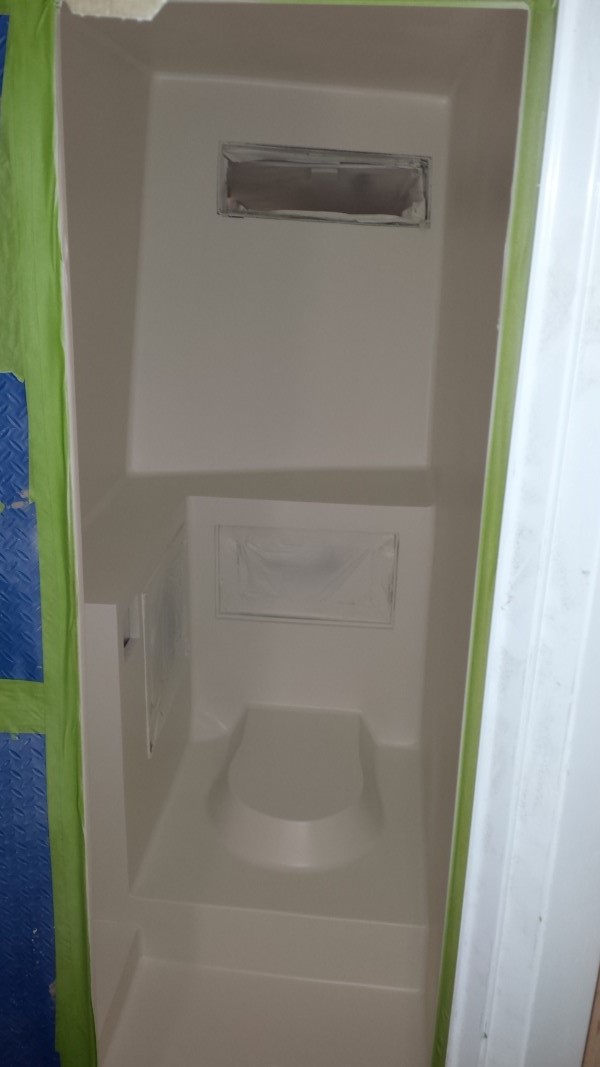
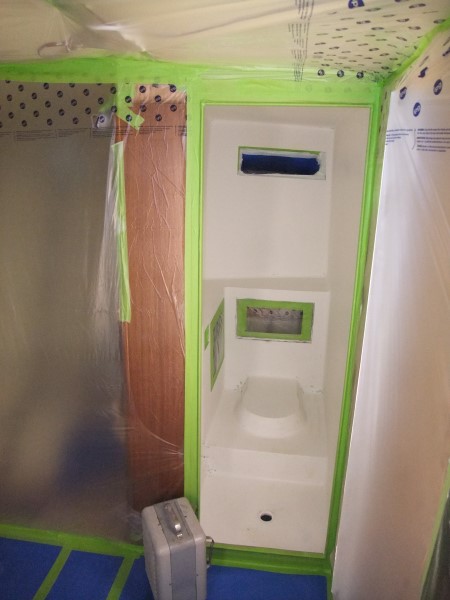
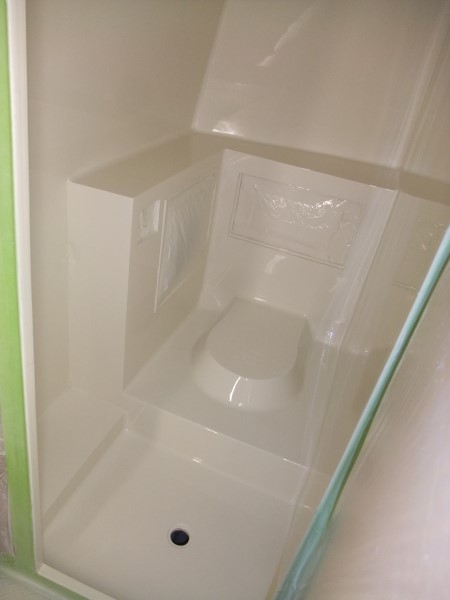
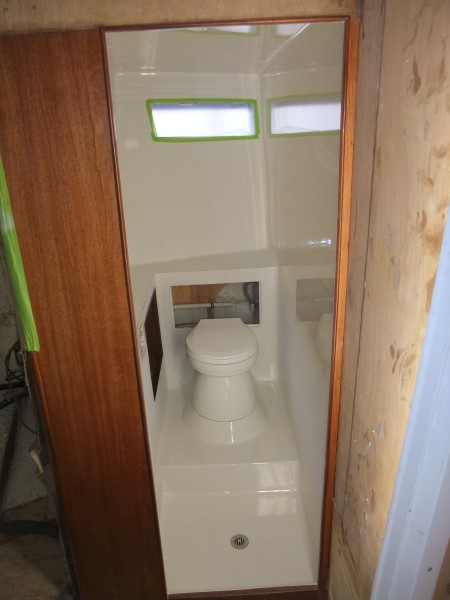
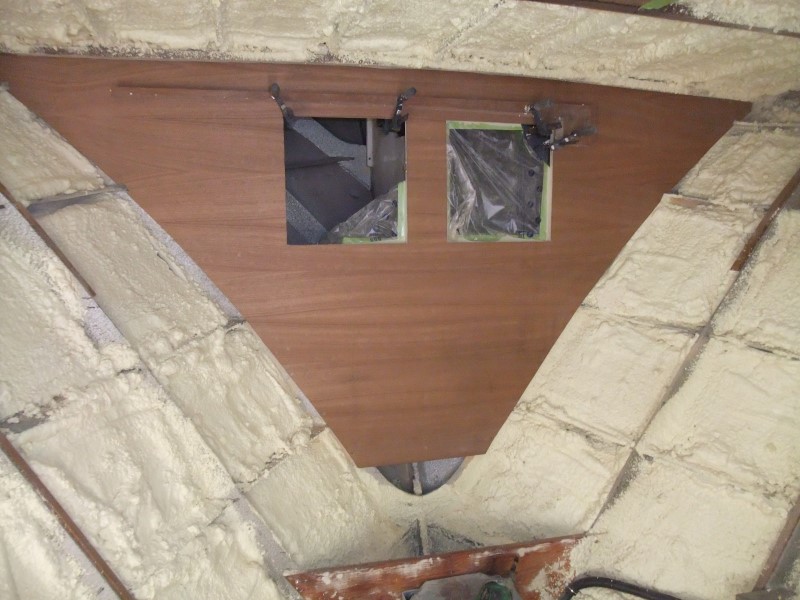
In other news, the weather broke for a couple of days that just happened to coincide with free time in my painter's schedule. So we got busy, finished the fairing on the V-berth head, and then sprayed the Awlgrip 545 primer. It turned out really nice. Now we're waiting for another break in the weather that matches my painter's timetable to get the paint done. We're slowly gettin' 'er done.

1969 Chris Craft Roamer 46 Refit: Priming the V-berth Head

Cheers,
Q

Image
roamer46
Platinum Member
Posts: 627
Joined: Mon Nov 18, 2013 10:22 am
Contact:

Re: Using a Shop Smith Mark V on a Chris Craft Roamer refit

Post by roamer46 »

Man...things have been nuts in the Mid-Atlantic region. I got the heck out of dodge and got some of my rub rails installed. The boatyard in winter is an island of sanity in a sea of absurdity.

1969 Chris Craft Roamer 46 Refit: Installing More Stainless Rub Rails

Cheers,
Q

Image
roamer46
Platinum Member
Posts: 627
Joined: Mon Nov 18, 2013 10:22 am
Contact:

Re: Using a Shop Smith Mark V on a Chris Craft Roamer refit

Post by roamer46 »

In other news, we finally got a break in the cold weather at the same time as my painter's schedule opened up. That V-berth head I started on back in March 2013 is sanded and ready for paint. Booyah.

Roamer 46 Refit: Final Sanding the V-berth Head

Cheers,
Q

Image
User avatar
BuckeyeDennis
Platinum Member
Posts: 3697
Joined: Tue Jul 24, 2012 10:03 pm
Location: Central Ohio

Re: Using a Shop Smith Mark V on a Chris Craft Roamer refit

Post by BuckeyeDennis »

Hey Q, I almost broke down and asked you what a black "guide coat" might be. But realizing that my man-card could be revoked if that turned out to be a really dumb question, I Googled it instead. And learned something. :cool: Thanks for the lesson!
roamer46
Platinum Member
Posts: 627
Joined: Mon Nov 18, 2013 10:22 am
Contact:

Re: Using a Shop Smith Mark V on a Chris Craft Roamer refit

Post by roamer46 »

BuckeyeDennis's man card status: Verified. lol

Yup, it's just cheap paint of a contrasting color sprayed very lightly over the primer. Stop sanding when there's no more guide coat left. Pro tip I've heard but never tried: food coloring diluted with alcohol and sprayed with a spray gun makes a super cheap guide coat that won't gum up sandpaper like cheap rattlecan paint can.

That said...drumroll please...We got a break in the winter weather. It was warm enough over the weekend to spray the Throne Room. I gotta say, it looks goooooood.

1969 Chris Craft Roamer 46 Refit: Painting the Throne Room (AKA the V-berth Head)

Cheers,
Q

Image
User avatar
skou
Platinum Member
Posts: 1944
Joined: Fri Feb 16, 2007 2:53 am
Location: Mesa (near Phoenix) Az

Re: Using a Shop Smith Mark V on a Chris Craft Roamer refit

Post by skou »

OK, any one else laugh out loud at this?

*Boatamalan: Noun. Joking portmanteau referring to my
painter’s Central American origin (boat + Guatamalan).
In fact, the Boatamalan is from Honduras, but Boatduras
doesn’t roll off the tongue like Boatamalan does.

Q, I laugh every time I see it.

KEEP posting it!

Oh, LOVE your posts!

steve
10 ER, stripped down.
Basic 10ER, Parts machine. Will be a semi-dedicated drill-press machine.
10 ER, a "survivor" of the trailer fire, in the back yard, needing restoration. Has a Mk5 headrest. Finally, stripped down.
Numerous parts, for Model 10 stuff. Except for lower saw guard, A and B adapters, I've got it.

Looking for one more, or some 9 inch extension table raisers.
roamer46
Platinum Member
Posts: 627
Joined: Mon Nov 18, 2013 10:22 am
Contact:

Re: Using a Shop Smith Mark V on a Chris Craft Roamer refit

Post by roamer46 »

Thanks, Steve! I'm not sure if today's snowflakes share my sense of humor, but I'm glad some people still do!

One of my favorite things on projects involving paint is taking off the plastic and tape for the big reveal. The Throne Room looks freakin' awesome. I also got both risers fully insulated with ceramic blankets and Inferno Wrap. They're ready to install.

Booyah

1969 Chris Craft Roamer 46 Refit: Finishing the Exhaust Riser Insulation

Cheers,
Q

Image

Image
roamer46
Platinum Member
Posts: 627
Joined: Mon Nov 18, 2013 10:22 am
Contact:

Re: Using a Shop Smith Mark V on a Chris Craft Roamer refit

Post by roamer46 »

I got the exhaust risers installed over the weekend. That's a major item to cross off the honey-do list. Booyah.

1969 Chris Craft Roamer 46 Refit: Installing the Exhaust Risers

Cheers,
Q

Image
roamer46
Platinum Member
Posts: 627
Joined: Mon Nov 18, 2013 10:22 am
Contact:

Re: Using a Shop Smith Mark V on a Chris Craft Roamer refit

Post by roamer46 »

After a bit of a rant about stupid EPA regulations that make kerosene jerry can spouts spill more fuel than old-style straight tube spouts, I got busy stripping paint from the forward bulkhead. Then I cut a beautiful African mahogany panel that I'll eventually bond to the bulkhead.

1969 Chris Craft Roamer 46 Refit: The V-berth Bulkhead

Cheers,
Q

Stupid EPA Jerry can spout busted the 5th time I used it.

Image

Image
User avatar
BuckeyeDennis
Platinum Member
Posts: 3697
Joined: Tue Jul 24, 2012 10:03 pm
Location: Central Ohio

Re: Using a Shop Smith Mark V on a Chris Craft Roamer refit

Post by BuckeyeDennis »

roamer46 wrote:After a bit of a rant about stupid EPA regulations that make kerosene jerry can spouts spill more fuel than old-style straight tube spouts, I got busy stripping paint from the forward bulkhead. Then I cut a beautiful African mahogany panel that I'll eventually bond to the bulkhead.

1969 Chris Craft Roamer 46 Refit: The V-berth Bulkhead

Cheers,
Q

Stupid EPA Jerry can spout busted the 5th time I used it.
Q, I'm looking forward to seeing the V-berth refit. The throne-room looks really sharp, and your exhaust riser work contributed to my decision to buy a welder and learn how to weld. But it's your woodwork that really "floats my boat". :)

Now before you stroke out over crappy jerry cans, pause for a minute to consider that clueless bureaucrats in Washington may just be God's way of giving Darwinian forces a fresh foothold. (Yes, I realize that one sentence is chock-full of references to multiple conficting philosophies, and may require db5 (our resident shrink) to confer with multiple colleagues in order to offer me any help at all. :D )

But my actual point is really simple. Buy yourself one or two of these, and then report back. I bought the 5-gal version last fall to go with my new backup generator, and it's by far the best gas can I've ever owned. Come spring, my old pre-regulation cans will be heading for the dump, and I'll own a couple more of these. I bought mine at a local Ace, and saved on shipping. They also come in blue, for kerosene.
Post Reply