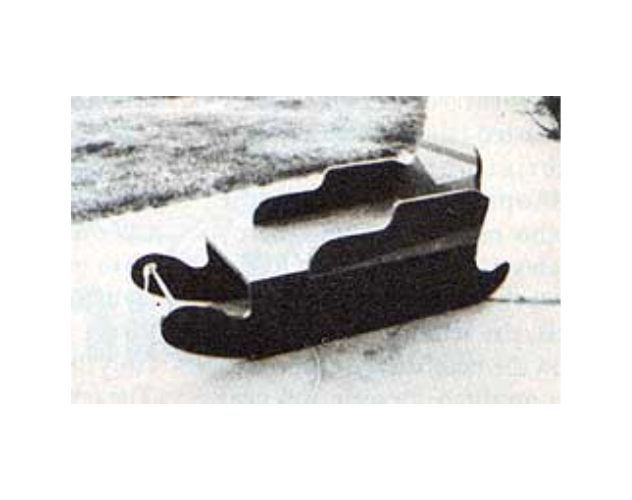
Turn a Wooden Snowman on a Shopsmith Lathe
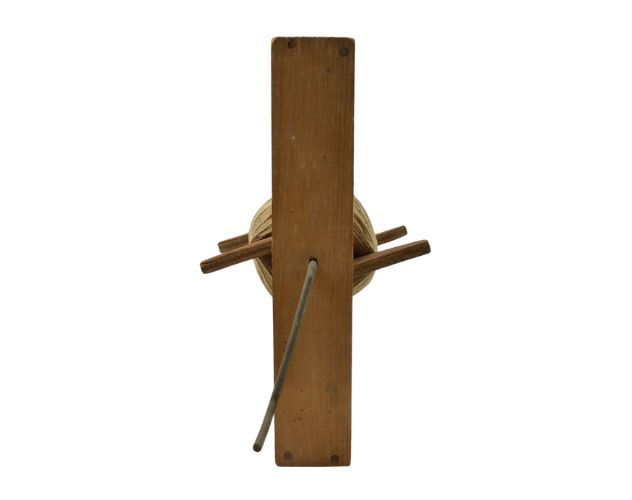
The Tilting Shelf Thread Holder
The Baseball Equipment Holder
Three-Piece Construction Crew
Children’s Pounding Bench
Queen Anne Living Room Tables
The Colonial Spice Cabinet
Butcher Block / Microwave table
Traditional Pembroke Table


.jpg)


.jpg)


.jpg)


.jpg)

.jpg)


.png)


.jpg)


.png)

