Before Proceding, CLICK HERE to see a listing of Safety Rules that will help you avoid Personal Injury.
The crosscut (cutting workpieces to LENGTH) is the most basic of all Table Sawing operations.
To view a brief (few-seconds long) video clip of each step being performed click on the video in each section.
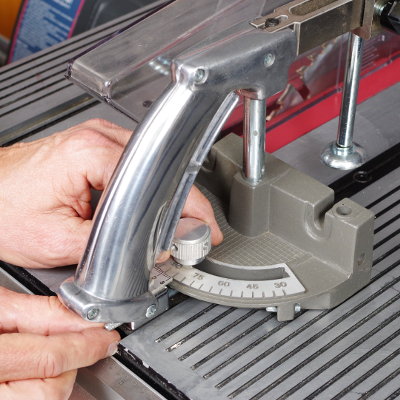
Step 1
Start by setting your Miter Gauge to the angle at which you wish to make your cut. A straight, across-the-grain cut is made at 90°. The Miter Gauge can also be set to cut angles other than 90° when necessary.
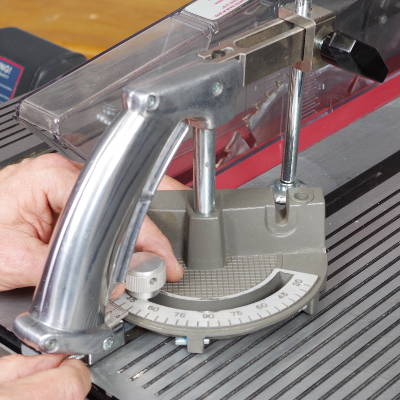
Step 2
Put your Miter Gauge into the appropriate Worktable Miter Gauge Slot — position your workpiece against the front edge of your Miter Gauge — and grasp the Safety Grip to clamp the workpiece to the Miter Gauge Bar in preparation for making your cut
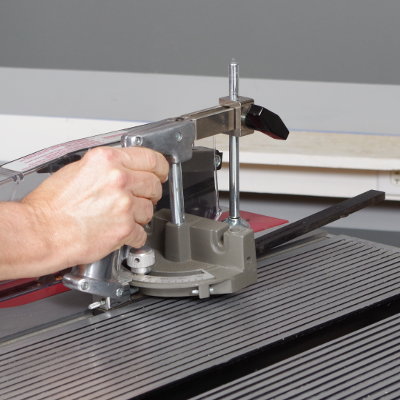
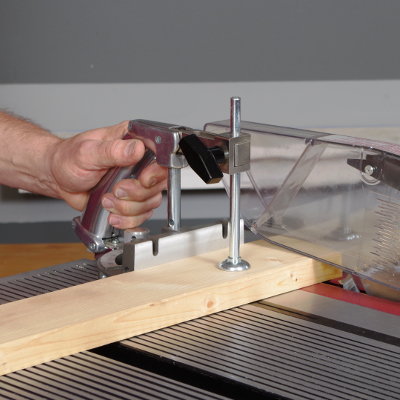
Step 3
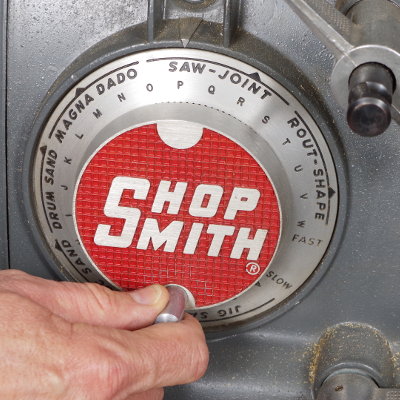
Turn on your Shopsmith, increase your speed to “R” (3500 RPM) and make your cut.
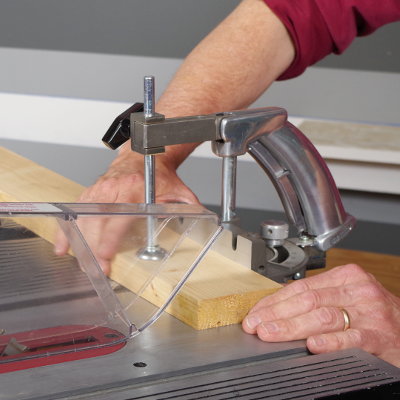
Step 4
Adjust your speed to 1050 “D”) or below and turn off your Shopsmith (not required with PowerPro Smart Motor)

See How Simple That Was!
Now that you’ve made a crosscut with your table saw, CLICK HERE to move on to the second most common Table Sawing cut — the Rip Cut (cutting workpieces to WIDTH)

